Step 1 - Create a contacts list and get contacts from a data source
In this step of the tutorial you first create the Grid List Box node which you use as a contacts list. You then set the Grid List Box to receive the contacts data from a data source.
Assets for the tutorial
The starting point of this tutorial is the List box.kzproj Kanzi Studio project file stored in the <KanziWorkspace>/Tutorials/List box/Start directory.
The <KanziWorkspace>/Tutorials/List box/Completed directory contains the completed project of this tutorial.
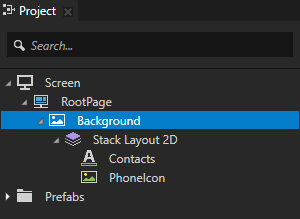
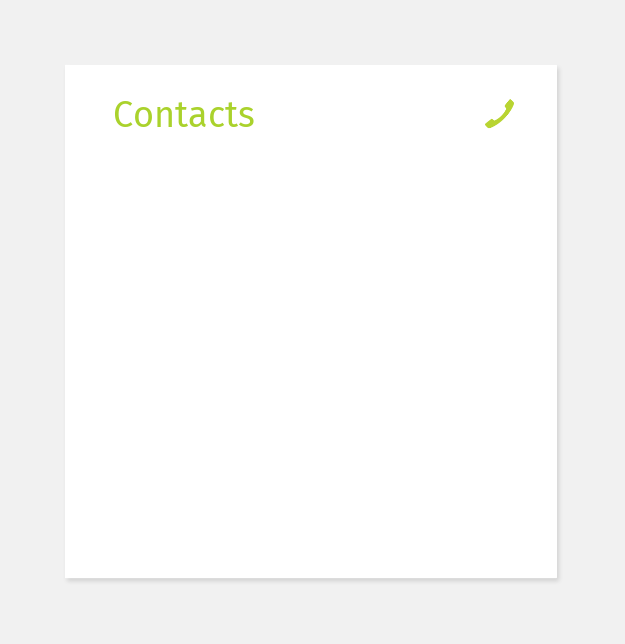
The starting point project contains the content you need to complete this tutorial:
Create a Grid List Box
In this section you create the Grid List Box which you use to show the list of contacts.
To create a Grid List Box:
- In Kanzi Studio open the project stored in the <KanziWorkspace>/Tutorials/List box/Start directory.
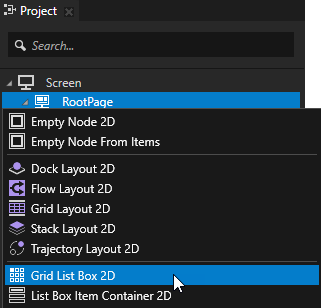
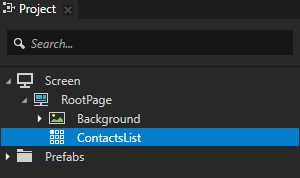
- In the Project press Alt and right-click the RootPage node, select Grid List Box 2D, and name it ContactsList.
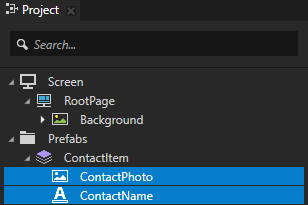
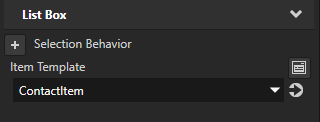
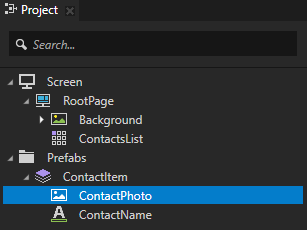
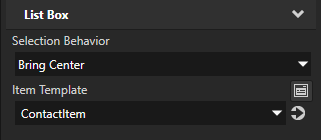
- In the Project select the ContactsList node and in the Properties set the Item Template property to ContactItem.
With the Item Template property you set which prefab template you want a Grid List Box node to use for its items.
Get the items from a data source
In this section you use a data source to populate the ContactsList you created in the previous section.
In Kanzi the list box nodes use virtualization to load and show at once only the number of items you want to show. The list box loads new items and removes the ones not visible anymore when user scrolls the list box.
In Kanzi Studio you can manually add or remove items in a list box node. However, use that only for lists with a small amount of static number of items and for prototyping. If you know that the number of items in a list box is going to change during application runtime, always use a data source to populate list box nodes.
To get the list items from a data source:
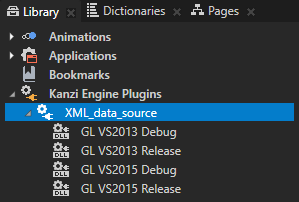
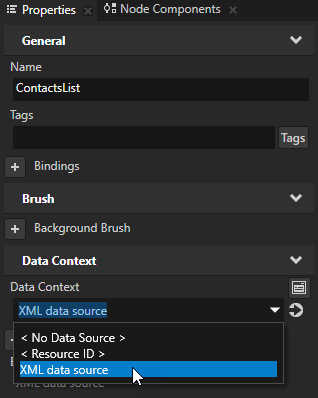
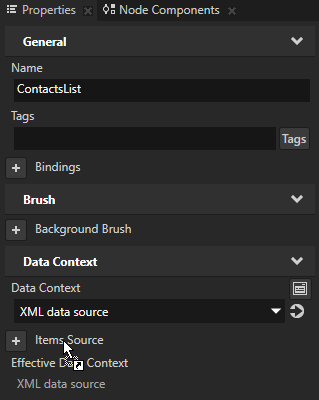
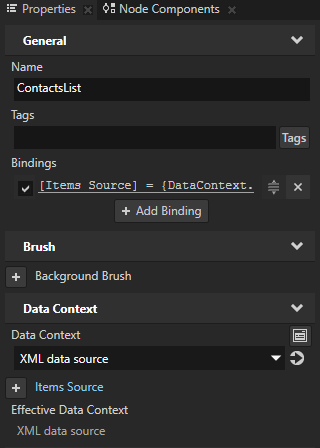
- In the Project select the ContactsList node, in the Properties add the Data Context property, and set it to XML data source.
By setting the Data Context property you tell your application from which data source it receives data.
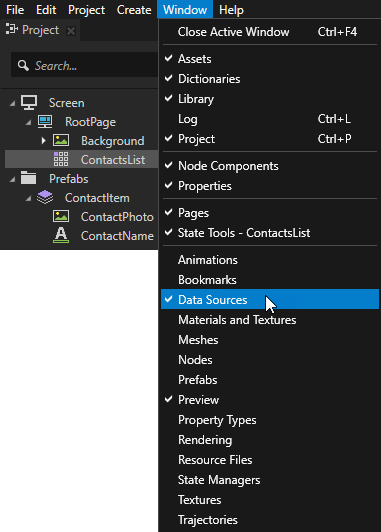
- In the main menu select > Data Sources.
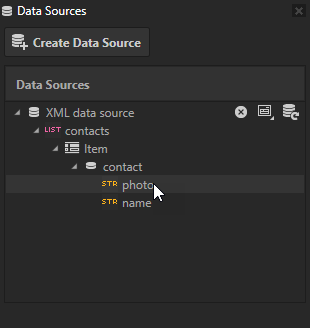
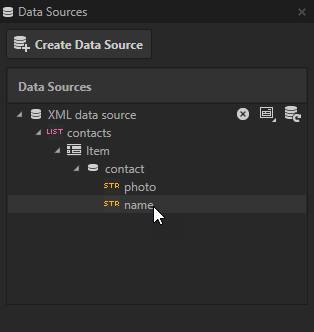
Use the Data Sources window to manage the data sources in your project.
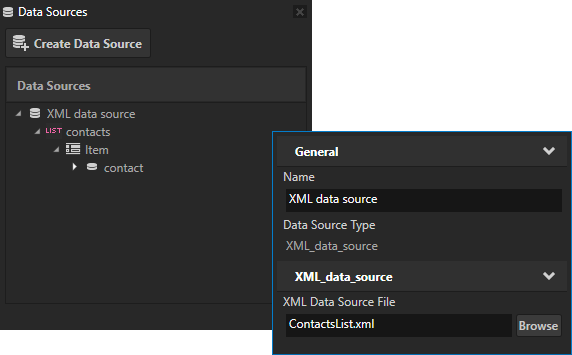
- In the Project select the ContactsList node, from the Data Sources window drag the XML data source > contacts data object, and drop it to the Items Source property of the ContactsList node in the Properties.
The Items Source property sets the source which provides the data for the items that the ContactsList node shows.
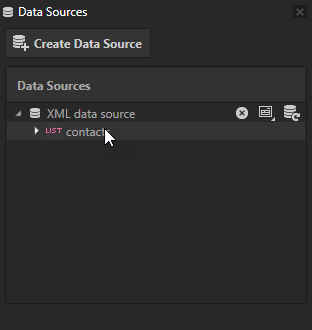
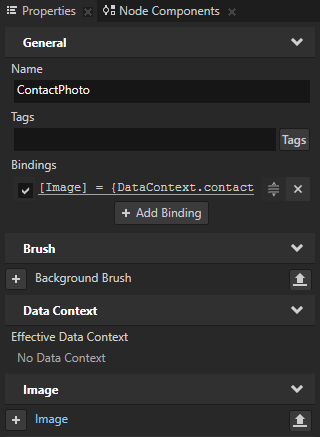
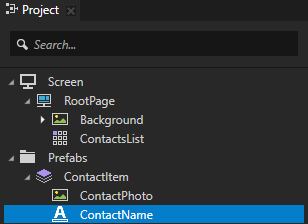
- In the Project > Prefabs in the ContactItem prefab select the ContactPhoto node, from the Data Sources window drag the XML data source > contacts > Item > contact > photo data object, and drop it on the Image property in the Properties. This data object provides the photo for each contact item in the contacts list.
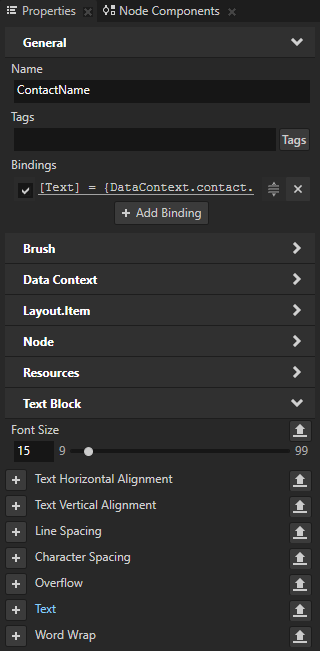
When you drag and drop a data object on a property that has a single field, Kanzi Studio creates a binding that binds the value of that property to the data object you dropped on that property.
The value for the Image property of the ContactPhoto node now comes from the XML data source photo data object.
- Repeat the previous step for the ContactItem > Container > ContactName node but use the XML data source > contacts > Item > contact > name data object.
This data object provides the name for each contact item in the contacts list.
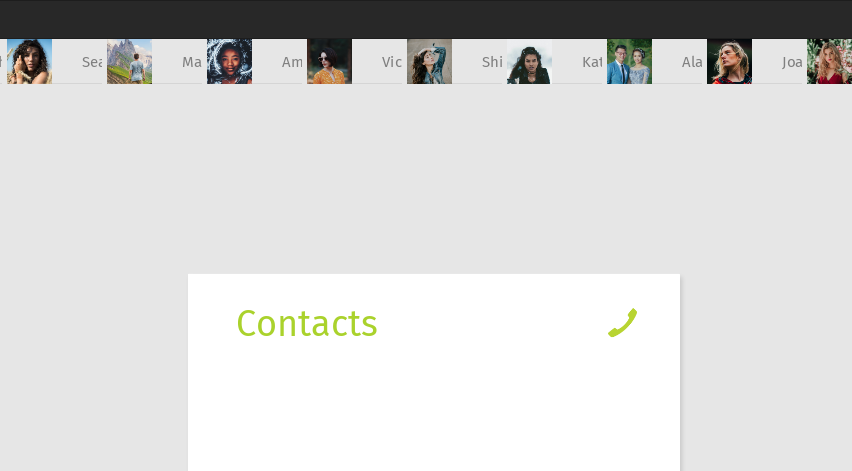
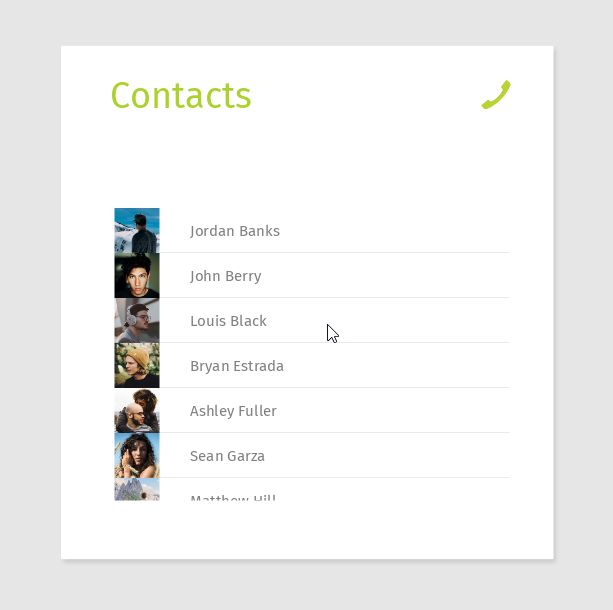
The ContactsList node now receives the photos and names for the contact items from the ContactsList.xml using the XML data source data source. In the Preview you can see the contact data.
Define the layout for the list box content
In this section you set the layout for the ContactsList node and the list items to present the content in the application.
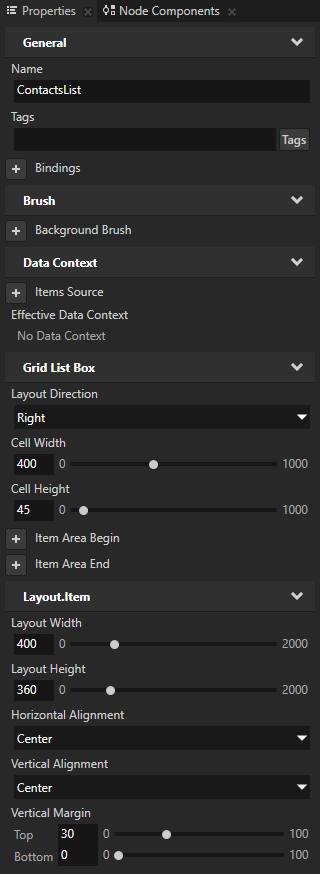
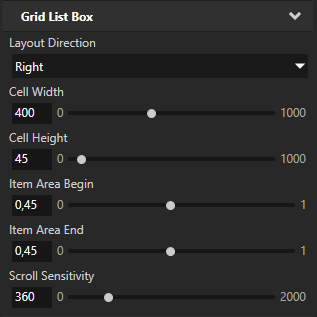
To define the layout for the list box content, in the Project select the ContactsList node and in the Properties set:
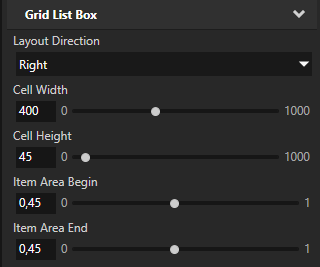
- Cell Width to 400
- Cell Height to 45
You set the area reserved for each element inside the list box. If the items do not fit in the cell, the node clips them.
- Layout Width to 400
- Layout Height to 360
You set the area in which the items in the Grid List Box node are visible. If all items in the Grid List Box node do not fit in this area, the node clips those items that do not fit. The user can scroll the Grid List Box node to access all items.
- Horizontal Alignment and Vertical Alignment to Center
This way you align the Grid List Box to the center of the application screen.
- Vertical Margin property Top property field to 30
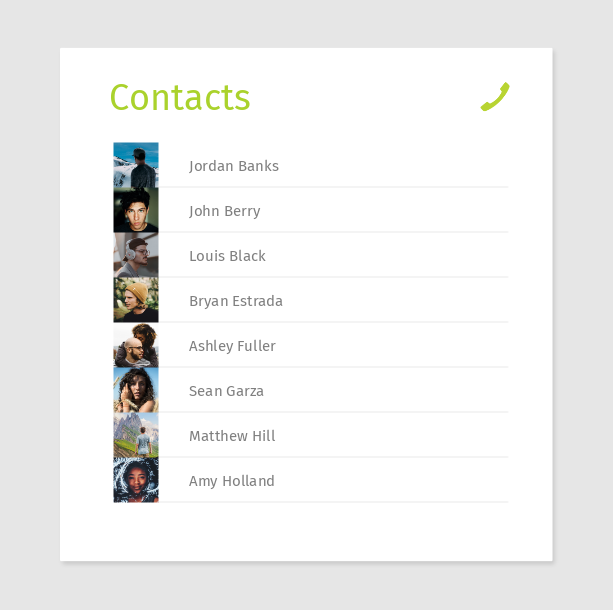
The Preview now shows the updated layout for the list box and its items. To change the name of a contact in the contacts list, in a text editor change the values in the ContactsList.xml file, and save the ContactsList.xml file.
Set how the Grid List Box scrolls its items
In this section you define how the Grid List Box scrolls its items and set the selected item to move to the center of the Grid List Box area.
To set how the Grid List Box scroll its items:
- In the Project select the ContactsList node and in the Properties set the list box to scroll the selected item to the center of the node area:
- Selection Behavior property to Bring Center
The Grid List Box brings the selected item to the center of the node area.
- Item Area Begin property to 0,45
- Item Area End property to 0,45
You set the items at the beginning and the end of the list to align with the center of the list when the user selects one of those items. The Item Area Begin and Item Area End properties set the offset where you want the area for the items in the Grid List Box node to begin and end.
- In the Project select the ContactsList node and in the Properties add and set the Scroll Sensitivity property to 360.
You set the Scroll Sensitivity property to match the value of the Layout Height property of the ContactsList node.
When you set the Scroll Sensitivity property of the Grid List Box node to match the size of the node layout in the scroll direction, the Grid List Box node scrolls the same amount as the user drags the pointer.
In the Preview when you select a list item, the list box brings that item to the center of its area.
< INTRODUCTION
NEXT STEP >

Open topic with navigation